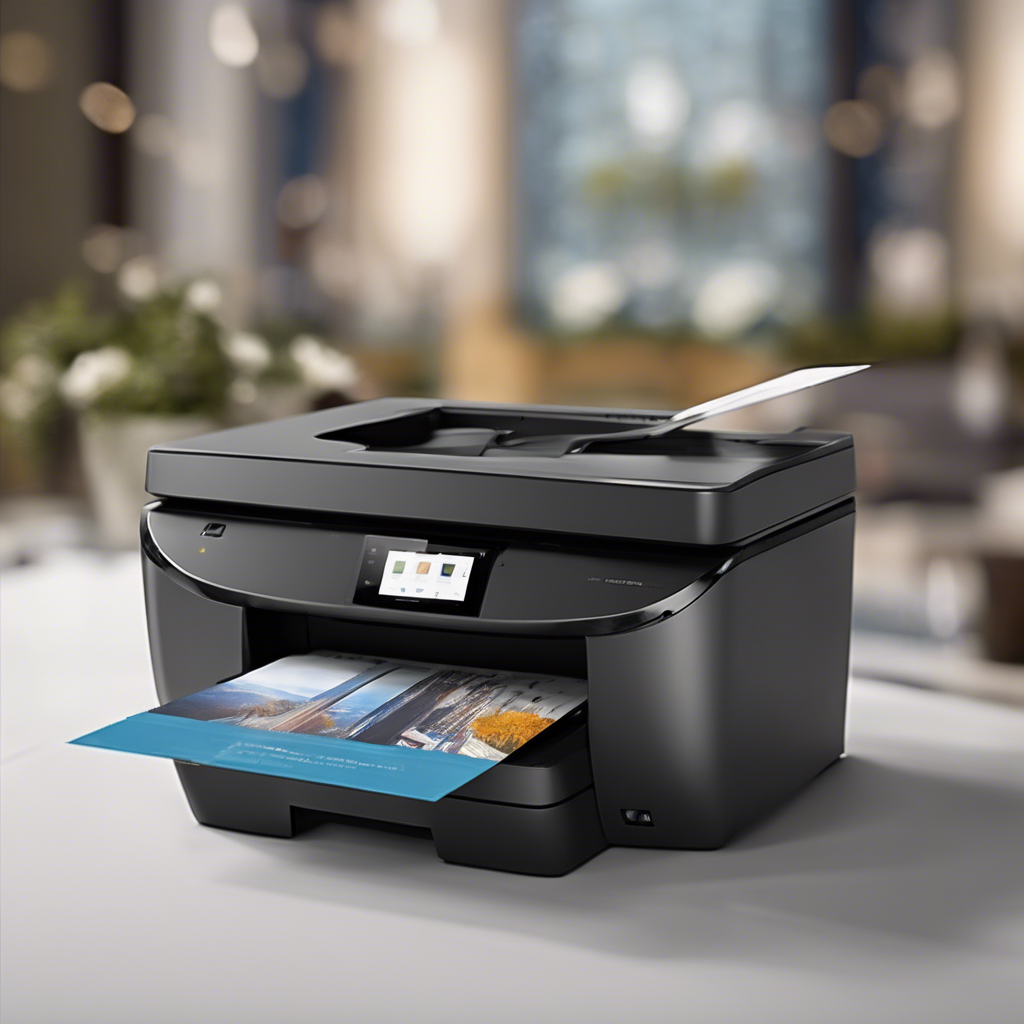
Welcome to our comprehensive123 hp setup guide on setting up your HP Printer! Whether you have an Envy Printer, Laserjet Printer, Smart Tank Printer, or any other HP model, this step-by-step tutorial will ensure a smooth installation process. Let's dive in!
Unboxing Your HP Printer
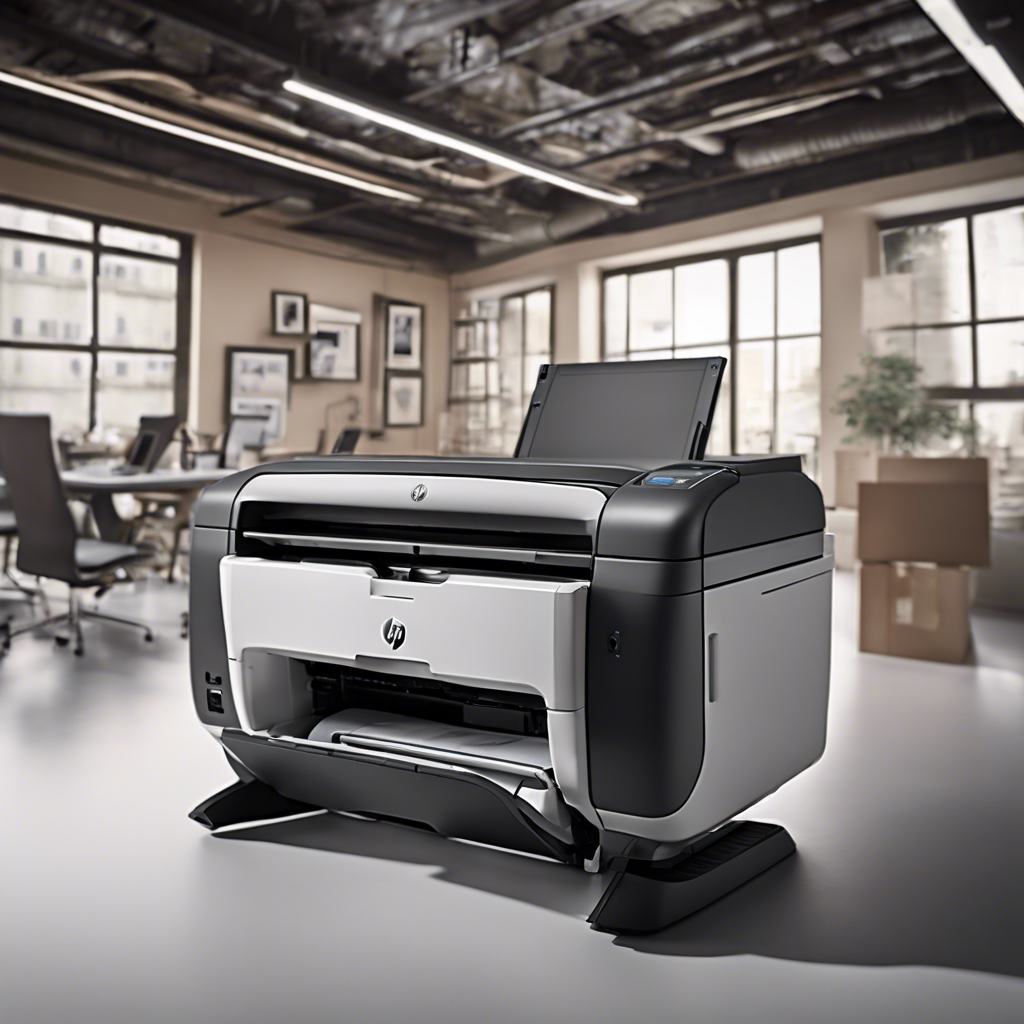
First things first, let's unbox your HP Printer and ensure everything is intact. Follow these steps: 123 hp setup guide
Open the packaging carefully to avoid any damage.
Take out the printer, power cord, ink cartridges, and user manual.
Remove all tapes and protective materials from the printer.
Place the printer on a stable surface near a power outlet.
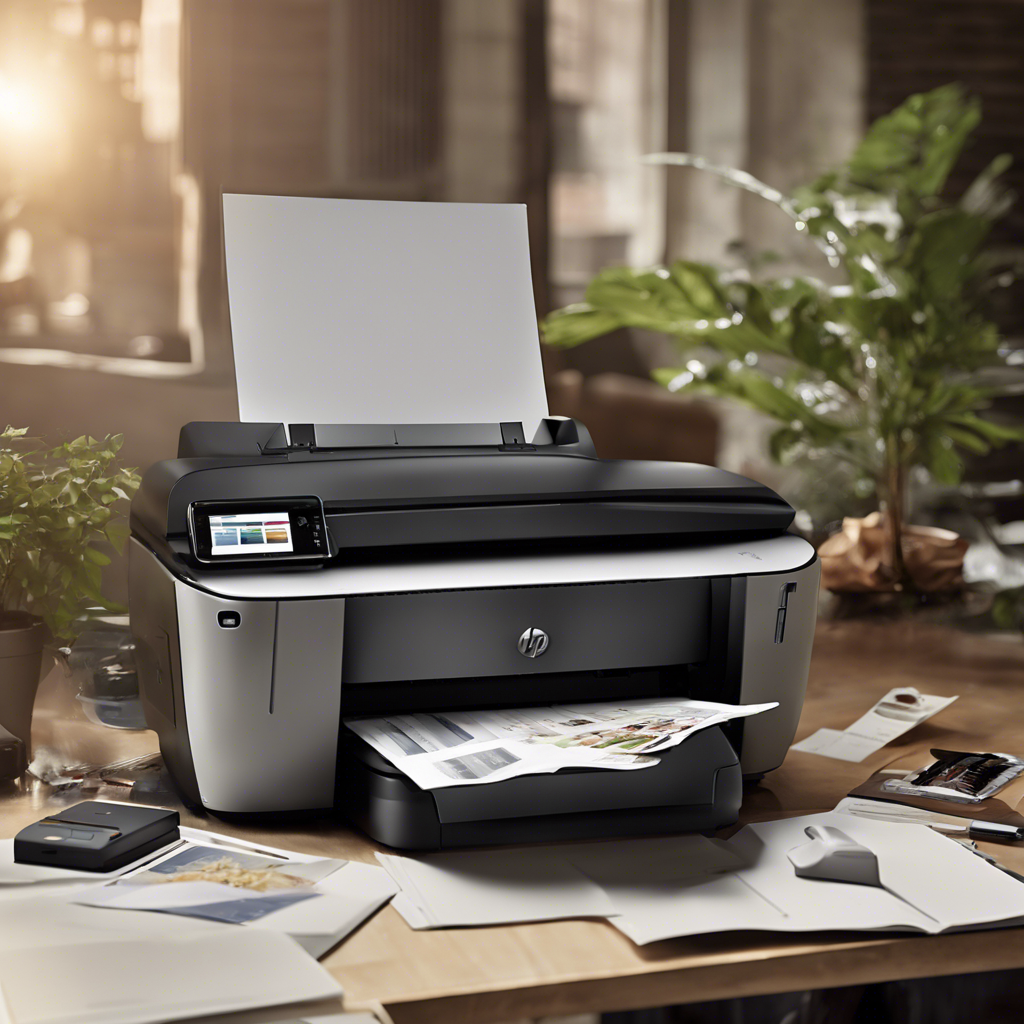
Loading Ink & Paper
Now, let's prepare your printer by loading ink and paper correctly:
Lift the ink cartridge access door and wait for the carriage to stop moving.
Install the ink cartridges firmly into their respective slots until you hear a click.
Load a stack of paper into the input tray, adjusting the guides to fit the paper size.
Align the paper properly for optimum printing results.
Connecting to WiFi
The final step is connecting your HP Printer to your WiFi network for seamless printing:
Turn on the printer and navigate to the Settings menu.
Select the WiFi setup option and choose your network from the list.
Enter your WiFi password when prompted and wait for the connection to establish.
Once connected, you can now easily print from any device on the same network.
Congratulations! You have successfully set up your HP Printer, from unboxing to loading ink & paper, and connecting to WiFi. If you encounter any issues during the installation, refer to the user manual or visit the HP support website for assistance.
Stay tuned for more useful tips and guides on optimizing your printing experience with HP Printers! Happy printing!
Remember, a well-set computer setup is a happy computer setup.
Comments